

Format, fit and filling
A long chew can fit inside a bag and still be difficult to insert, reclose or heat-seal. This guide helps pet treat brands turn product measurements and packing conditions into a useful pouch brief.
Choose packaging for dental chews by measuring the largest piece, defining the pack count and checking the usable pouch opening and cavity. Then compare the required protection, closure and packing equipment. Confirm fit and sealing with representative product and suitable samples; net weight and a screen mockup are not enough.
1. Describe the product before choosing a bag
Write down whether the chew is a straight stick, curved piece or irregular shape, and whether its surface is hard, soft, oily or sticky. Include normal size variation: the biggest piece, not the most convenient one, can determine the minimum usable space.
Do not confuse the dog-size category printed on the label with a packaging dimension. A range sold for small and large dogs can use different chew lengths, counts and pack weights. Give the supplier the product measurements for each SKU rather than expecting a small/medium/large label to define a pouch.
For related dry biscuits and other treats, our pet food packaging page includes a separate 200 g biscuit project specification. Its dimensions are not a standard for dental sticks.
2. Measure the usable space, opening and filling allowance
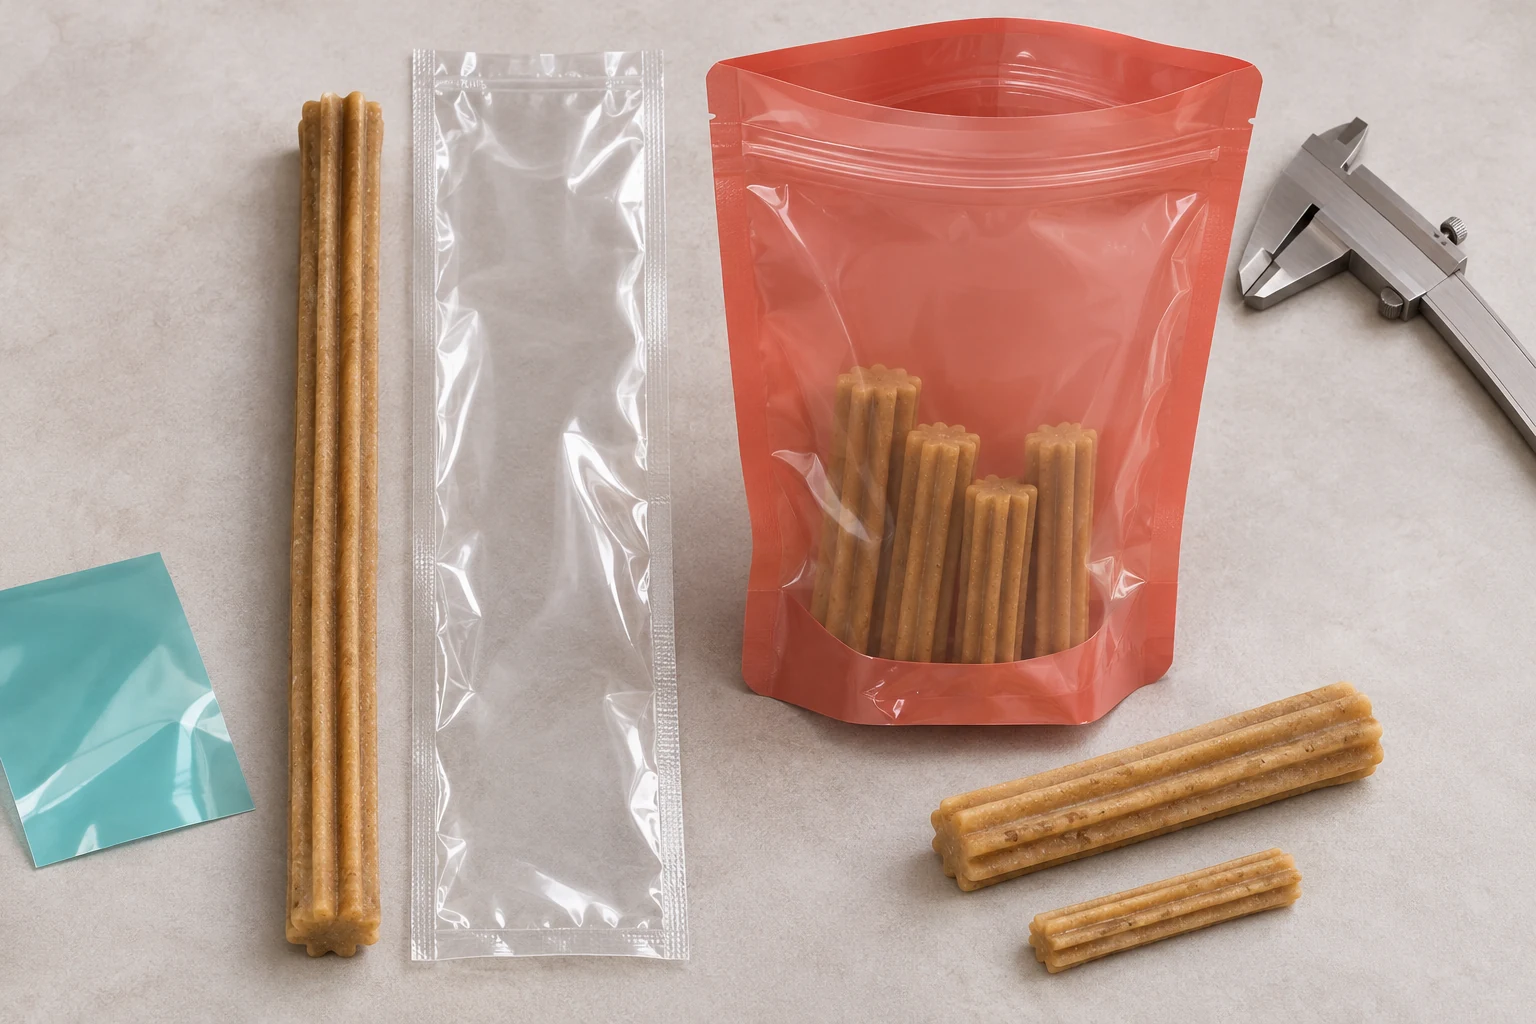
Measure the largest length, width and thickness of the chew. Arrange the intended count as it will enter the bag: an orderly stack, a bundle and a loose fill can require different volumes. Record the net weight separately.
| Item to record | Why it matters |
|---|---|
| Maximum chew length, width and thickness | Defines the product envelope, including ridges and ends |
| Pieces and net weight per pack | Separates the sales quantity from the space it occupies |
| Usable pouch cavity and mouth | Checks internal fit and whether the chew passes the opening |
| Seal margins, zipper and gusset notation | Identifies space unavailable to the product and the intended depth |
| Filling direction and clean headspace | Prevents a product end or crumbs interfering with closing and sealing |
Finished outside dimensions include sealed edges, so a bag that matches the chew’s outside length may not provide enough cavity. There is no universal extra allowance: seal design, zipper, product shape and filling method determine it. Use the pouch dimension guide to read a drawing, then check the candidate with actual product.
3. Compare a single-chew flat pouch with a multipack
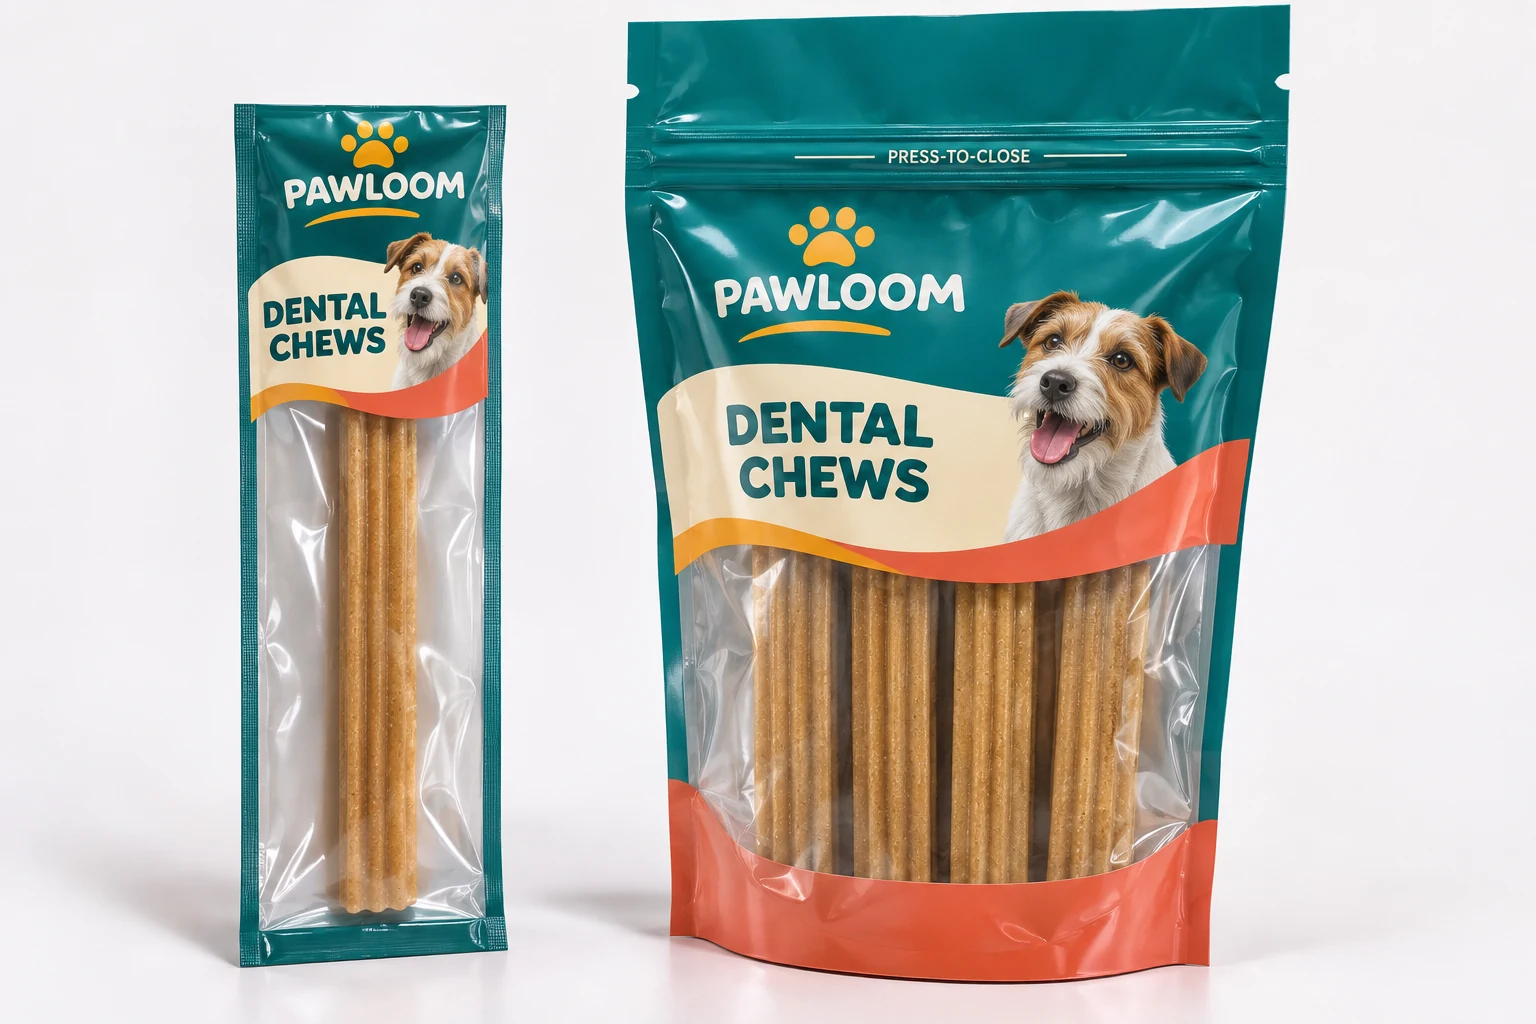
A flat three-side-seal pouch is a useful starting point for a single long stick or compact set, especially when no repeat opening is required. A resealable stand-up pouch offers depth for multiple pieces and a base for display. A flat bottom bag adds a box-like base and side depth for an appropriate larger pack, with different converting and cost considerations.
Choose around how the pack will be filled, displayed and used. A zipper takes space and may obstruct insertion of a rigid product; a wide-looking front panel does not guarantee a wide usable mouth. A hanging display needs the hole, header and load considered together.
Individual machine-wrapped chews are another route. If a co-packer uses horizontal flow wrapping, the film and artwork must match that line. A premade flat pouch and automatic flow-wrap film should not be treated as interchangeable purchases.
4. Define protection without guessing the laminate
Describe the formulation and intended storage conditions. Dry chews may be affected by moisture pickup; a softer product may need attention to moisture loss and texture. Oils, aroma, oxygen and light can introduce other requirements. The highest-looking barrier is not a substitute for understanding the product.
A clear window changes the brief: it can help show the shape, but its film and position must be assessed as part of the whole pouch. A metallic appearance does not prove a foil layer, and a laminate abbreviation does not establish shelf life.
For hard ridges or sharp ends, evaluate abrasion and local pressure with a suitable material and filled pack. Ask what evidence or sample assessment is appropriate; avoid choosing a thicker bag and assuming it is puncture-proof.
5. Plan the first opening and the reclosure separately
The final production heat seal protects the unopened pack according to the agreed specification. The zipper is for repeated access after opening. Confirm the open edge supplied by the pouch manufacturer, the filling path and where your equipment makes the final seal.
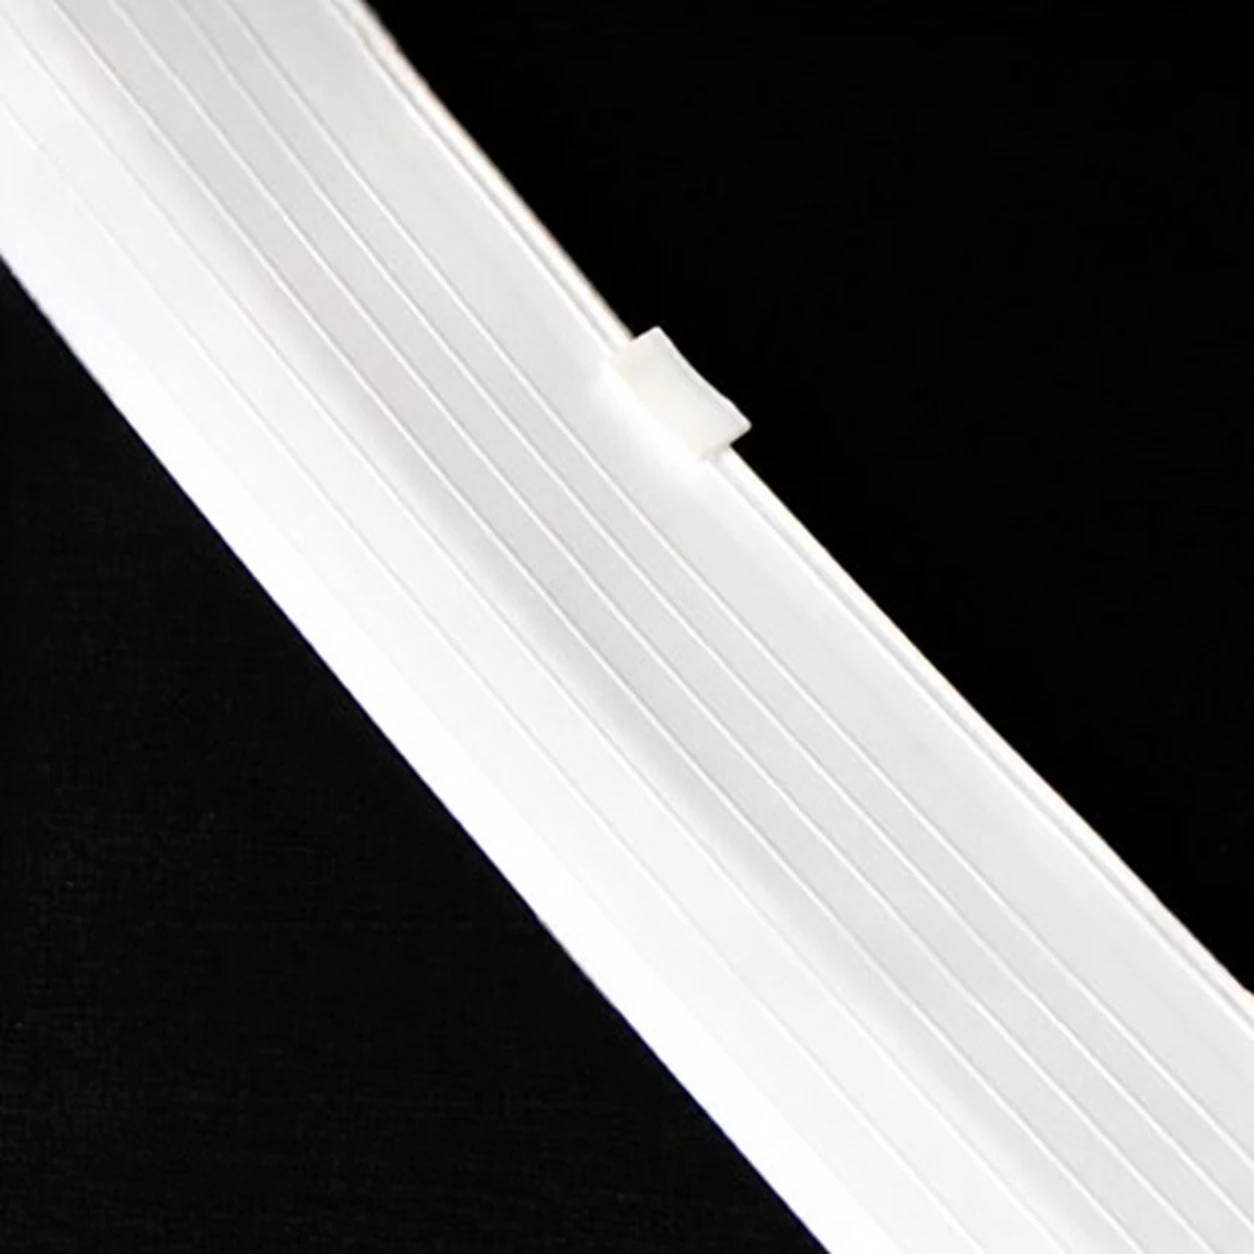
Tear notches should open the header while leaving the reclosure useful. For a larger bag, a slider can be evaluated for ease of use, but component dimensions and pouch compatibility still need review. Keep crumbs and product away from the zipper and seal area.
Use our stand-up pouch zipper guide for the wider closure options. It does not replace a check on the actual pouch and chew combination.
6. Agree on sample checks before artwork approval
A screen mockup can confirm general layout; an empty reference pouch can help assess format and handling. Neither establishes real filling performance. Request the sample scope that answers your next decision and clarify whether its dimensions, laminate, closure and print process match the intended order.
- Insert and remove: try representative large pieces without forcing or deforming the bag mouth.
- Fill the intended count: examine settling, stacking, headspace and whether ends press against seams.
- Open and reclose: assess consumer access and whether crumbs interfere with the zipper.
- Seal with the intended equipment: review access, cleanliness and suitable operating conditions.
- Assess distribution needs: agree on the appropriate filled-pack handling, leak or mechanical checks for the product and transport route.
This is a planning checklist, not a claim that every order has passed these tests. Agree on methods and acceptance requirements with the supplier and your packing team. Ask for relevant records when an assessment is part of the project.
7. Send a brief that can produce a useful quotation
Dental chew packaging inquiry checklist
- Product type, surface and maximum piece dimensions
- Intended count and net weight per bag
- Current bag photo, drawing or preferred format
- Material or storage requirements, including oils and moisture sensitivity
- Zipper, window, tear notch or hang-hole preferences
- Manual filling, premade-pouch line or automatic wrapping machine
- Quantity per artwork, number of sizes and artwork status
- Delivery country and required delivery date
Digital and gravure should be compared for the actual format and order. Suitable standard digital pouch jobs may be evaluated from around 100 pieces, but about 1,000–3,000 often offers better value. Flat bottom and other special formats have different considerations. Finished pouch widths above approximately 37 cm cannot use Runlong’s normal digital route.
Review the MOQ guide and sample-cost guide when planning a launch. Approve the final material, drawing, artwork and sample scope for each size before production.
Dental Chew Packaging Questions
Can I choose a dental chew bag by net weight alone?
No. The longest piece, width, thickness, pack count, stacking and filling direction determine the space needed. State the weight as well, then confirm usable pouch dimensions with the actual product.
Should one chew use a flat pouch or a zipper pouch?
A flat pouch can be a starting point when the single chew is consumed after opening. A resealable pouch can suit a multipack or repeat-use brief. Check the actual product, insertion path, display and sealing process.
How much extra length should I add to the bag?
There is no universal allowance. Finished outside dimensions include seals; the usable cavity must also accommodate the product, zipper where present, filling access and clean final heat-seal area.
Will a clear window reduce the barrier?
It depends on the film structure and the whole-pack design. Do not assume that a clear area and an opaque metallized or foil laminate have identical protection; review the actual material and product needs.
What should I check with a physical sample?
Check insertion and removal, the intended count, pressure from ends or ridges, clean sealing space and opening and reclosing. Agree on any material, leak, mechanical or machine trials and acceptance requirements needed for the project.
Can a packaging supplier validate my dental-health claim?
Packaging selection does not establish the dental or nutritional benefits of the product. The brand should supply and approve its product copy and applicable evidence separately from the packaging specification.
Plan a pouch around your actual chew
Share the chew measurements, count and net weight, quantity per artwork and filling method. A reference photo or sample helps us review size, material, closure and printing options.